

If you want a straighter smile without the discomfort of metal braces, Invisalign could be the answer. This revolutionary orthodontic treatment provides a clear and comfortable alternative to traditional braces.
Invisalign uses clear aligners to gradually move your teeth, making it an appealing option for those looking for a more aesthetic way to improve their smile.
This article will walk you through the entire Invisalign process, explaining each step so you know exactly what to expect.
What Is Invisalign and How Does It Work?
Invisalign is a modern orthodontic solution that replaces metal brackets and wires with clear, removable aligners. These aligners are custom-made and designed to gradually shift your teeth. Each set of aligners uses advanced 3D imaging technology to gently move your teeth closer to their ideal alignment. It’s a secret, comfortable, and effective way to fix many dental issues , from minor crookedness to more serious alignment problems.
Why Choose Invisalign Over Traditional Braces?
People choose Invisalign because of its nearly invisible appearance and the ability to remove the aligners while eating, drinking, and cleaning. Traditional braces may be more apparent, affecting self-confidence, particularly in adults. Invisalign treatment uses clear, plastic aligners that are less noticeable, making them ideal for both teens and adults who prefer a low-profile solution.
Furthermore, the removable design promotes good oral hygiene by eliminating brackets that trap food and wires that make brushing difficult.
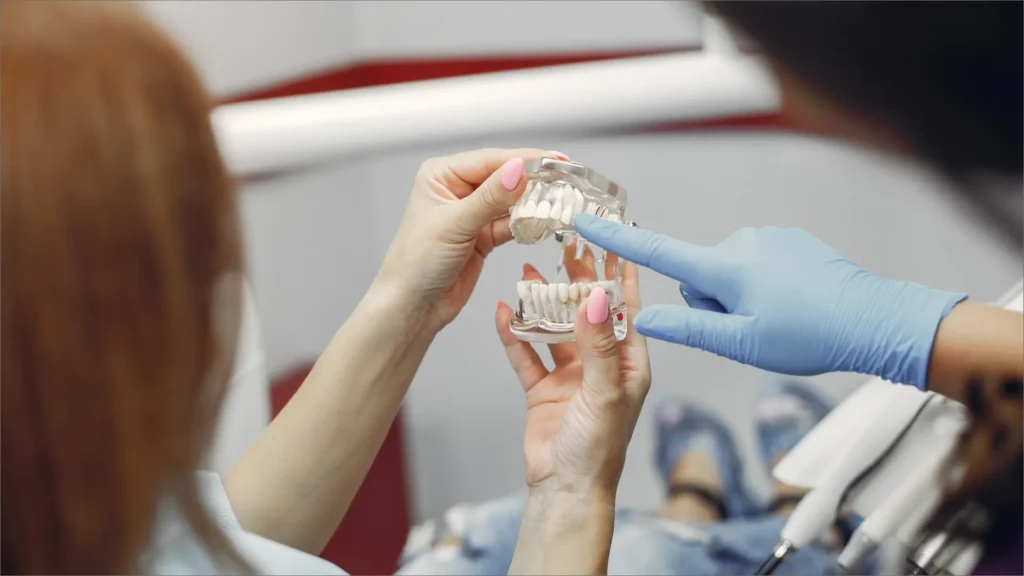
Step 1: Consultation with an Invisalign Specialist
Your Invisalign journey will begin with a consultation with a certified Invisalign practitioner. During this initial appointment, the orthodontist or dentist will evaluate your dental needs, examine your teeth’s alignment, and determine whether Invisalign is a good fit. Not everyone is eligible for Invisalign, as severe alignment issues or jaw complications might require alternative treatments.
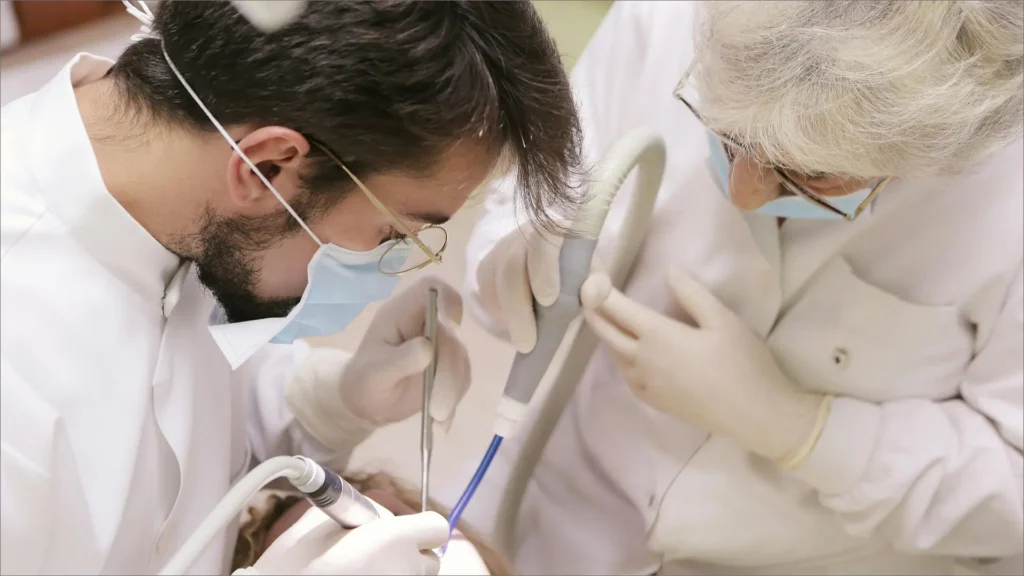
This consultation includes a thorough dental examination, which frequently includes X-rays and digital scans. These imaging techniques generate an accurate map of your teeth and jaw structure. Before beginning treatment, the dentist must determine whether any conditions, such as gum disease, exist. Once approved, your Invisalign provider will discuss treatment options, costs, and a rough timeline.
Step 2: Custom Treatment Plan
Once consultation is complete, your dentist will create a treatment plan based on your specific needs. Using Invisalign’s 3D computer imaging, the dentist creates a digital roadmap describing how each set of aligners will gradually shift your teeth. In this step, you can see the expected progression at each stage, giving you a preview of your new smile before treatment begins.
The 3D images also help your orthodontist determine how many aligners you’ll need and how frequently you’ll need to replace them. While some treatments last only a few months, others can take up to 18 months, depending on the severity of your case. This customized treatment plan ensures aligners fit perfectly and produce the desired results.
Step 3: Creating Your Custom Aligners
Once your treatment plan has been finalized, it’s time to make your custom aligners. Invisalign aligners are made from BPA-free, medical-grade plastic, which makes them safe, comfortable, and transparent. The molds of your teeth created from scans are sent to the Invisalign lab, where each aligner in your treatment series is manufactured.
Each set of aligners is meant to gradually move specific teeth into proper positions. Most patients wear each set of aligners for one to two weeks before moving on to the next. Because the aligners are customized for your teeth, they fit tightly and comfortably. Their discreet design ensures they are almost invisible, making them an appealing option for those seeking a subtle orthodontic solution.
Step 4: Wearing Your Invisalign Aligners
Once your aligners are ready, your dentist will give you detailed instructions on use and care for them. Aligners require 20-22 hours to get the best results. Consistency is crucial here. Removing them too frequently or failing to wear them for the necessary time might extend the treatment period.
You’ll take out the aligners only to eat, drink anything other than water, and brush and floss. One of the primary benefits of Invisalign is its flexibility, which allows you to eat your favorite foods without fear of damaging your metal braces. However, they must be stored in their designated case to avoid loss and damage.
Step 5: Regular Check-ups and Aligners Replacement
You will have regular check-ups with your dentist to track your progress throughout your Invisalign treatment. These appointments are typically scheduled every six to eight weeks. During each visit, the dentist checks that your teeth are moving as expected and will give you your next set of aligners if everything is on track.
These regular check-ups are important because they allow your doctor to make any necessary changes to your treatment plan. If your teeth are not moving as expected, your orthodontist may adjust the treatment plan. Consistent aligner replacement maintains the momentum of your treatment, ensuring a smooth and effective alignment procedure.
Step 6: Refinement Phase
Sometimes minor changes are required to perfect your smile near the end of your treatment. In the refinement phase, additional aligners are created to make these final tweaks. This phase is especially common in more complex cases where precise adjustments are required to align every tooth perfectly.
Refinement aligners ensure that your teeth reach the desired positions before treatment ends. This additional phase can improve your results and is worth considering if minor alignment changes are required.
Step 7: Finishing Up with Retainers
When your treatment is complete, the final step is your new smile. Your orthodontist will likely provide a set of retainers to wear at night. Retainers prevent your teeth from gradually shifting back into their previous positions, an essential step in preserving your results.
Initially, you may need to wear the retainers full-time, but eventually, it’s usually enough to wear them at night. Invisalign’s clear retainers are virtually invisible and easy to adapt to, ensuring long-term maintenance of your straightened teeth. Your beautiful smile will last for years if you follow this routine.
Advantages of Invisalign Over Traditional Braces
The advantages of Invisalign go beyond visual appeal. Because the aligners are removable, oral hygiene is easier to maintain, lowering the risk of cavities and gum problems that can occur with metal braces. In addition, unlike metal braces, Invisalign aligners are smooth and free of sharp edges that can cause mouth sores.
Invisalign is also ideal for busy people because it requires fewer orthodontic appointments and provides a more convenient option for those with hectic schedules. Many people find the Invisalign process a seamless part of their daily lives because it requires fewer food restrictions and allows them to brush and floss normally.
Final Thoughts – Invisalign Process
Choosing Invisalign is a personal choice based on your lifestyle, alignment requirements, and orthodontic goals. The best way to know if Invisalign is right is to consult an experienced orthodontist.
With its discreet design, comfortable fit, and effective results, Invisalign has quickly become one of the most popular orthodontic solutions worldwide. If you want a clear, customizable, and comfortable path to a straighter smile, Invisalign is an excellent choice for your dental needs.
Invisalign provides an appealing alternative to traditional braces, allowing patients to achieve their ideal smiles with minimal disruption to their daily lives.
Read More: Permanent Retainer vs. Removable Retainer: A Comprehensive Guide
Read More: Can You Drink Coffee After Tooth Extraction? Expert Advice